
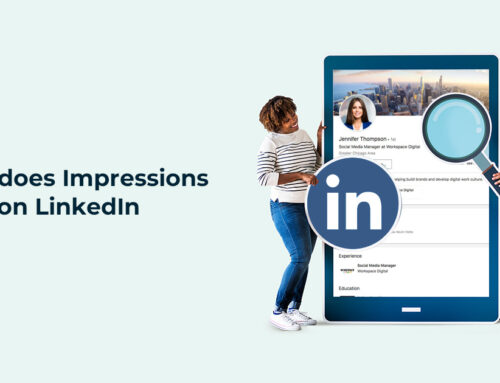
How to Look at Scheduled LinkedIn Posts Easily
Discover how to look at scheduled LinkedIn posts in a few clicks. Manage and plan your content better with this simple guide.
Rosin | 27 Jan 2025

Table of Content
- Do more with Storefries!
- Understanding Scheduled LinkedIn Posts
- Why You Need to View Scheduled Posts
- Step-by-Step Guide to Viewing Scheduled Posts on LinkedIn
- Using Third-Party Tools to View Scheduled LinkedIn Posts
- Troubleshooting Scheduled Posts on LinkedIn
- Tips for Effective Management of Scheduled Posts
- Benefits of Viewing Scheduled LinkedIn Posts
- Conclusion
- Boost Your Social Media with Automation—Start Your Free Trial Today!
- Related Posts
- Leave A Comment Cancel reply
LinkedIn is one of the most powerful professional networking platforms in the world. It offers features to connect with peers and colleagues. It also allows you to share content to improve your personal or organizational brand. One of LinkedIn’s best tools is the ability to schedule posts. This lets users plan their content ahead of time. Once you schedule posts, knowing how to view and manage them is important. This helps you keep your content strategy on track. This detailed guide explains how to view scheduled LinkedIn posts and provides actionable tips for effectively managing them.

Understanding Scheduled LinkedIn Posts
Posts that schedule the time allow you to arrange the content to post later and time. This is very useful for maintaining a normal post-schedule. You do not need to publish the post yourself in real-time. Whether you are a professional or manage the company, post time allows you to focus on creating excellent content. LinkedIn will handle the appropriate publication for you.
Why You Need to View Scheduled Posts
Watching LinkedIn at that specified time is an important part of your content strategy management. These are some reasons that make this important.
1. Check the accuracy of the content: Make sure that all the posts have no errors, such as the wrong printing or incorrect images.
2. If you want to change the content, time or anything else, you can edit your post as scheduled. This allows you to change before posting.
3. Follow up on consistency: The position you choose should match your content calendar, brand tone, and posting frequency.
4. Avoid repeating: Check the time specified content, ensuring that you will not post the same message or not necessary.
5. Get ready for the last minute: outside events or campaign priorities may require you to reschedule your content.
Step-by-Step Guide to Viewing Scheduled Posts on LinkedIn
For Individual LinkedIn Profiles
If you’re using a personal LinkedIn profile to schedule posts, follow these steps to view your queued content:
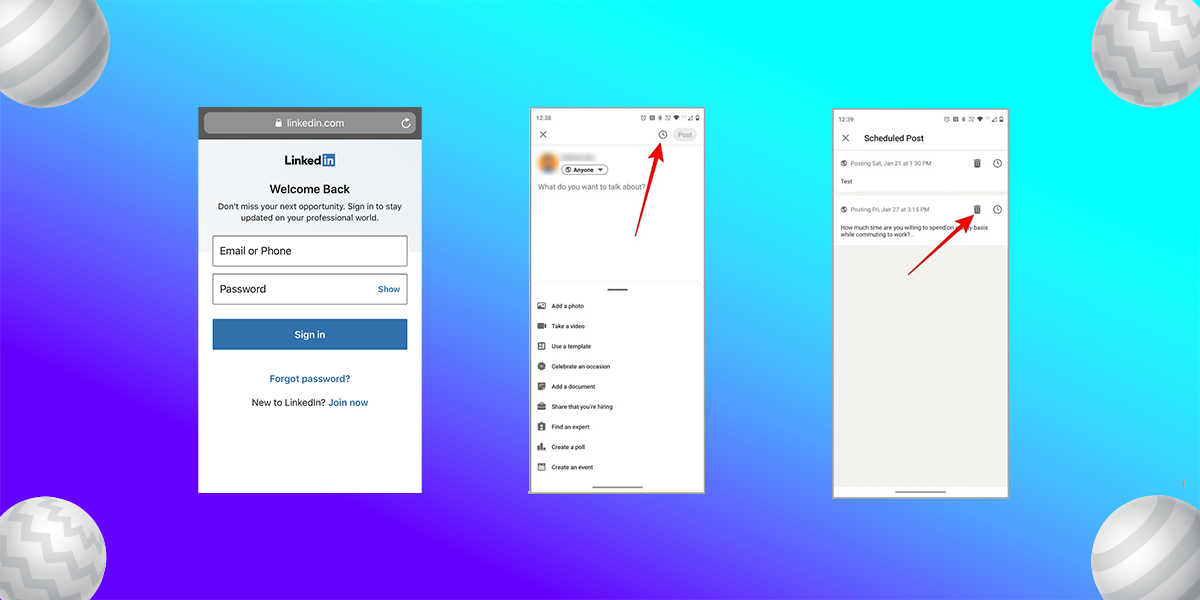
1. Log in to Your LinkedIn Account: Start by logging into your LinkedIn account using the correct profile credentials.
2. Navigate to the Post Scheduler: On the homepage, locate the “Start a post” section. Click the clock icon or the scheduling tool. If LinkedIn’s scheduler is not available, this tool may be an add-on feature or part of third-party tools.
3. View Your Scheduled Posts: Once in the scheduler, you’ll see a list of your scheduled posts. These will include:
a. The date and time of publication.
b. A preview of the post, including text, links, and media.
c. Any associated tags or hashtags.
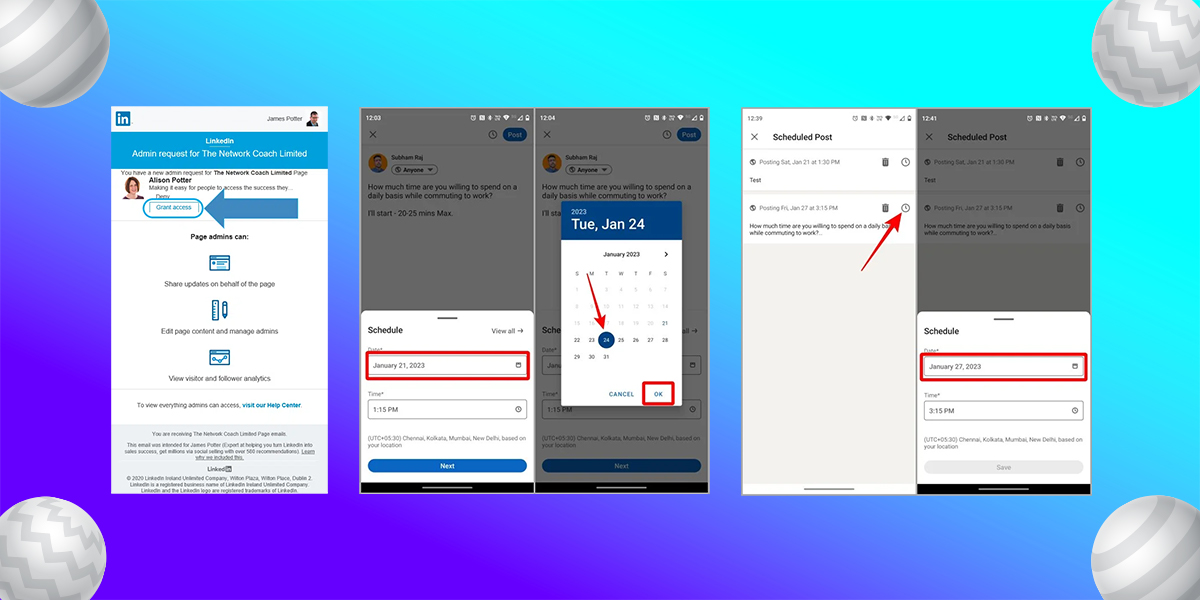
4. Make Adjustments: To modify or delete a scheduled post, click on it, make the necessary changes, and save or reschedule it.
For LinkedIn Company Pages
If you’re managing a LinkedIn company page, the process is slightly different:
1. Access Your Company Page: Go to the LinkedIn homepage. Click the “Work” icon at the top. Then, select “Manage Page.”
2. Go to the Content Scheduler: On the company page dashboard, locate the “Content” or “Posts” section. Look for a tab or section labelled “Scheduled Posts.”
3. View Scheduled Content: Like personal profiles, you will see a list of all scheduled posts. This list includes details like the publishing date and time, a text preview, and media files.
4. Modify or Reschedule Posts: Click on individual posts to edit or reschedule them as needed.
Related Blog: How to create a LinkedIn account for business
Using Third-Party Tools to View Scheduled LinkedIn Posts
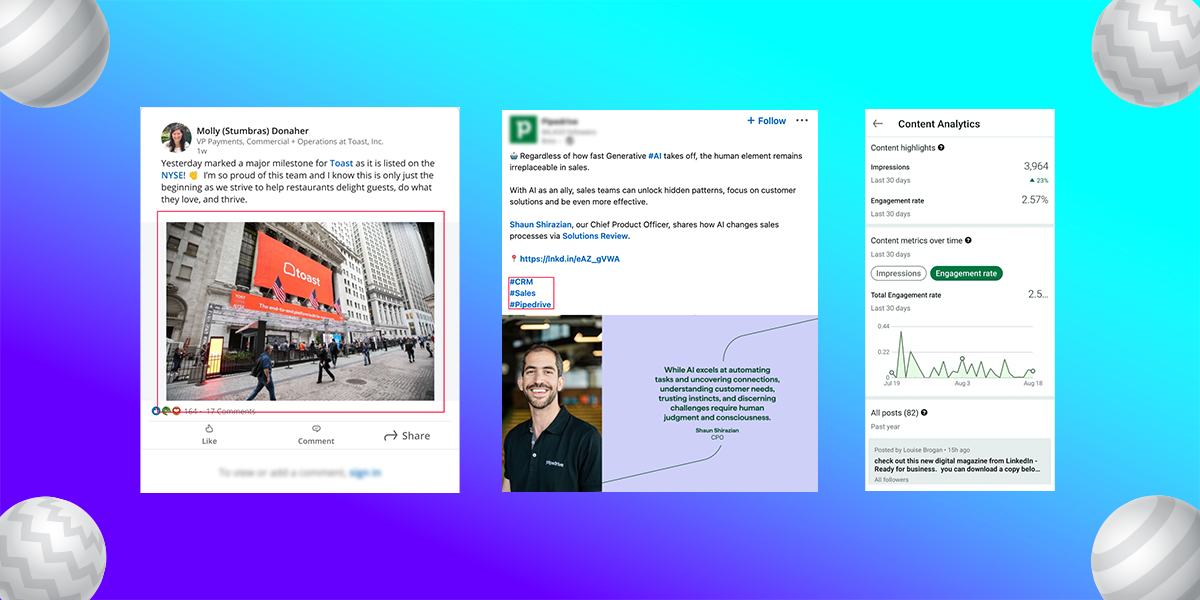
LinkedIn has scheduling features, but many professionals and businesses like to use third-party tools. They prefer these tools to manage their social media content. These platforms provide additional features, such as analytics and team collaboration. Here are some popular tools and how to view scheduled posts on them:
1. Storefries:
a. Log into Storefries and navigate to the LinkedIn profile or page.
b. pen the calendar view to see all your scheduled posts in one place.
c. Click on the “Scheduled” from the Content section to view all scheduled posts.
2. Hootsuite:
a. Log into your Hootsuite account.
b. Navigate to the LinkedIn profile or page connected to your Hootsuite dashboard.
c. Go to the “Publisher” section to see scheduled posts.
3. Buffer:
a. Open your Buffer account and select the LinkedIn profile or page.
b. Click on the “Queue” section to view all scheduled posts.
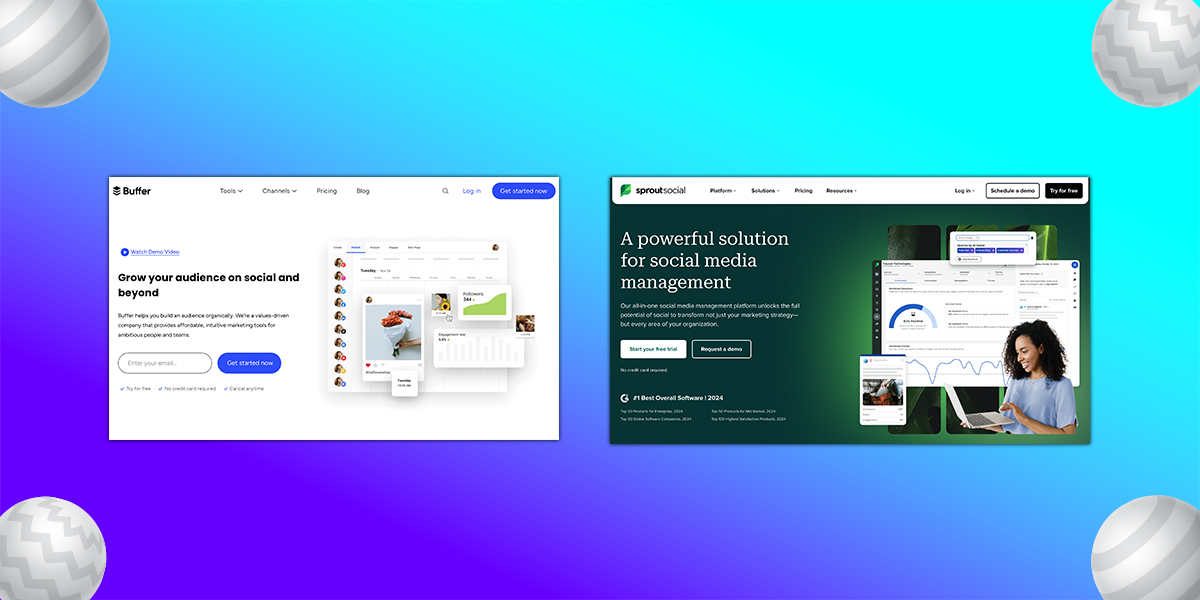
4. Sprout Social:
a. Log into Sprout Social and navigate to the LinkedIn profile or page.
b. Open the calendar view to see all your scheduled posts in one place.
Troubleshooting Scheduled Posts on LinkedIn
Problem 1: No specifications on time
If you do not reach the specified steps, make sure you do the following
- Your LinkedIn apps or browsers are updated to the latest version.
- You sign up to use the correct account.
- Posting qualifications open for your account.
Problem 2: The post is not publication
Posts as scheduled may fail in the dissemination if:
- There is a problem with a network connection.
- LinkedIn is experiencing a mistake on the server.
- The schedule has passed without being approved by you. (In the third-party tool)
Solution: Check the specified post and focus on posting by yourself if necessary.
Tips for Effective Management of Scheduled Posts
1. Plan a Content Calendar
Use a content calendar to plan posts well in advance. This ensures that your posts align with your marketing strategy and cover all key topics.
2. Optimize Post Timing
Research your audience’s activity patterns on LinkedIn. Popular times for engagement include weekday mornings and early afternoons.
3. Use High-Quality Visuals
Ensure all images, videos, and infographics meet LinkedIn’s specifications for quality and dimensions.
4. Leverage Hashtags
Incorporate relevant hashtags to increase the visibility of your posts. Limit the number to three or four per post for maximum effectiveness.
5. Monitor Engagement
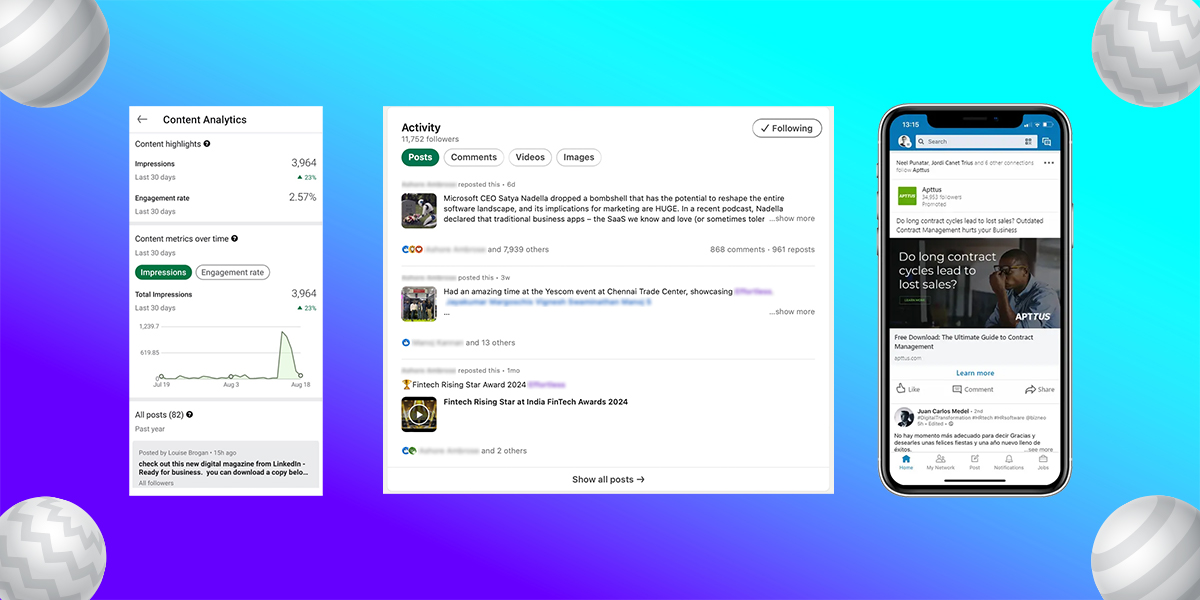
After your scheduled posts go live, track their performance through LinkedIn Analytics. This helps you refine your future content strategy.
Benefits of Viewing Scheduled LinkedIn Posts
- Improved content quality: Review of assigned posts ensures error-free and professional quality content.
- Time-Saving: Scheduling posts in advance and managing them effectively reduces time spent on daily social media tasks.
- Improved strategy: Ensure scheduling and alignment visually aligns with overarching marketing goals.
- Maximize engagement: Relevant and relevant posts increase audience engagement and brand visibility.
Conclusion
Learning to watch and manage LinkedIn is an important part of a good social media strategy. Whether you want to expand your brand or your company, the schedule post can help. It helps you to be consistent, save time, and help you share high-quality content.
By following the procedures and secrets specified in this manual You will be ready to manage your LinkedIn professionally. Good content programs are important for strong acting on LinkedIn, regularly reviewed for efficiency.
")

Leave A Comment